

They are widely used in industrial warehouses and large commercial spaces in terms of efficiency, reliability, and good illumination. Yet, proper installation is paramount to reap the benefits completely. Upgrading from old conventional lighting or installing for a new project, getting to know the right installation procedure ensures safety and efficiency and increases its lifespan.
Why use LED High Bay Lights?
Before moving into installation, it would be important to know the reasons why LED high bay lights are the best for bigger spaces:
- Energy Efficiency: They consume much less electricity compared to traditional metal halide or fluorescent lights, which subsequently decreases the electricity bills.
- Durability: LEDs may last up to 50,000 hours or even more, thus reducing costs of maintenance.
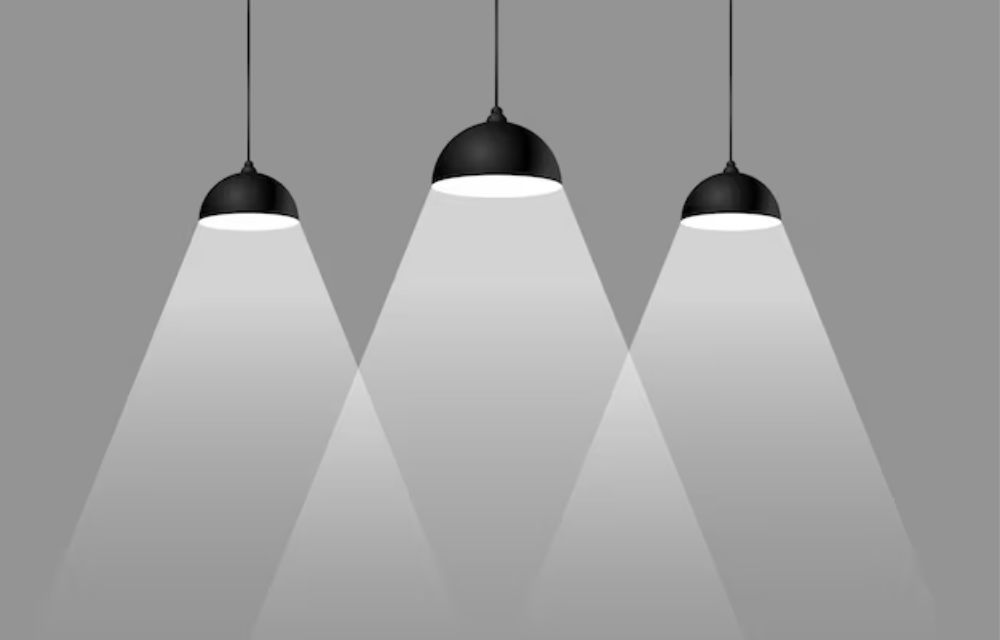
- Better illumination: They give bright consistent light with options for multiple beam angles and color temperatures.
- Eco-Friendly: LEDs contain no harmful chemicals and have a lower carbon footprint.
Pre-Installation Checklist
Good preparation leads to an easy installation. Consider the following:
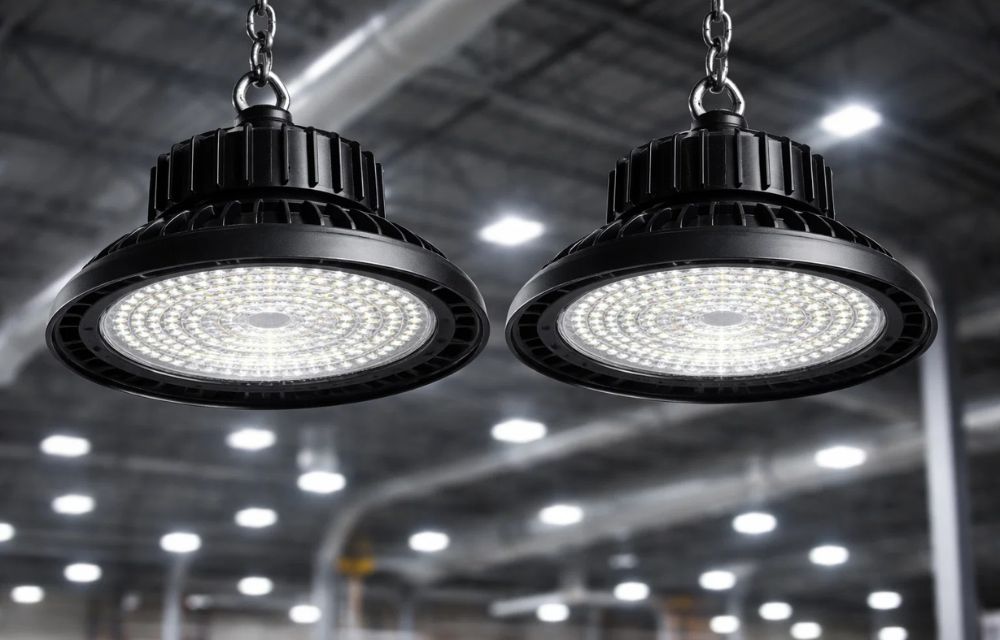
- Assess the Space: Measure ceiling height and analyze the space to decide on how many lights you require. High bay lights are most suitable for ceilings above 20 feet.
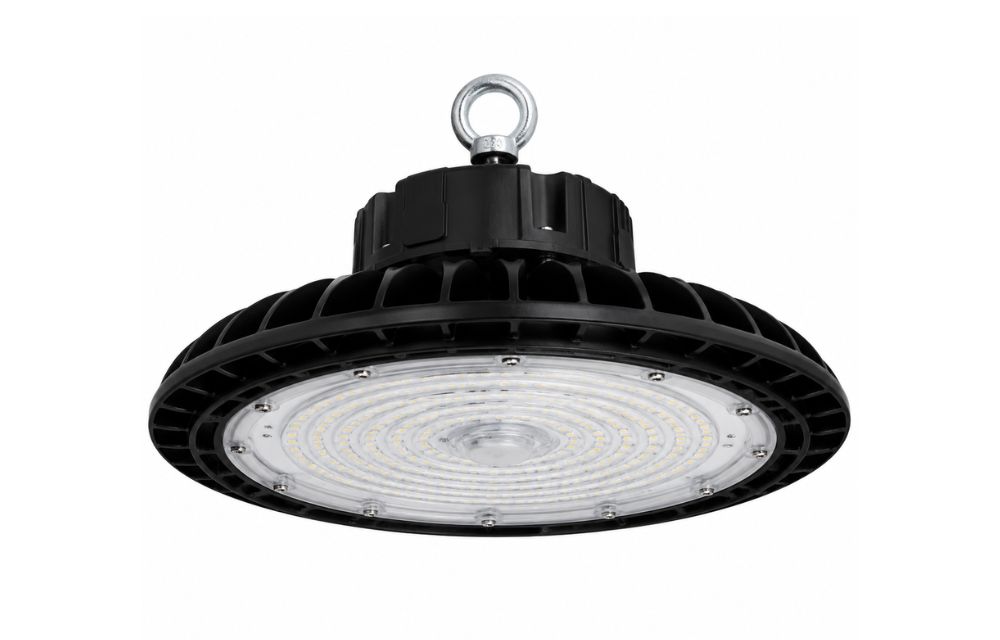
- Select Appropriate Fixtures: Pick LED high bay lights with sufficient lumen output, wattage, and beam angle as per your space requirements.
- Ensure Safety Gear: Collect the required PPE such as gloves, safety goggles, and a harness for working at heights.
- Check Power Supply: Ensure that the electrical wiring and circuits are strong enough to support the load of the new lights.
Step-by-Step Installation Guide
Follow these steps for successful installation of LED high bay lights:
1. Turn Off Power Supply
Safety first. Make sure the power to the installation area is completely shut off. Use a voltage tester to confirm no current is flowing.
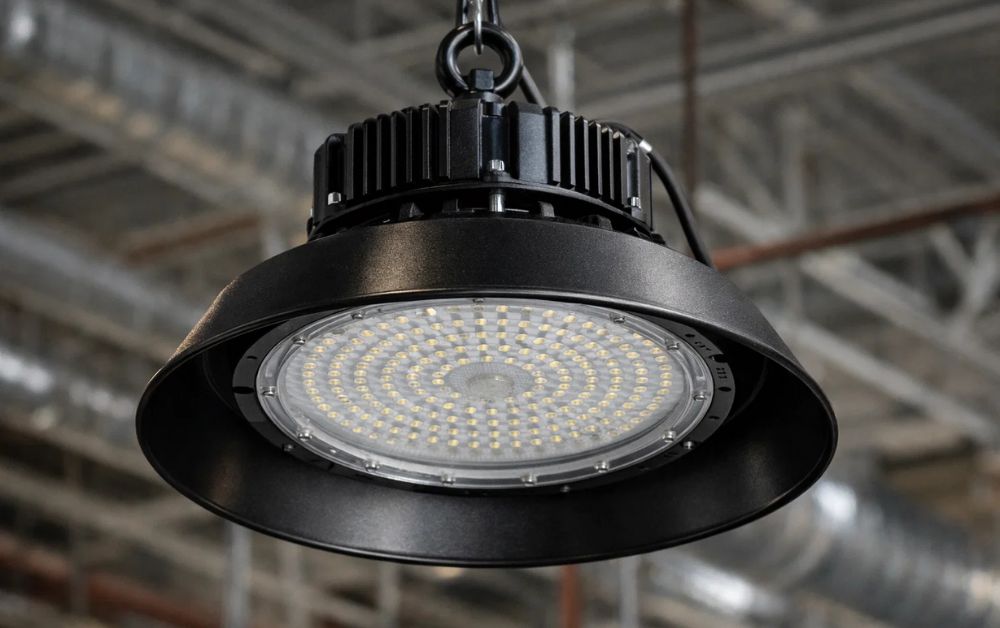
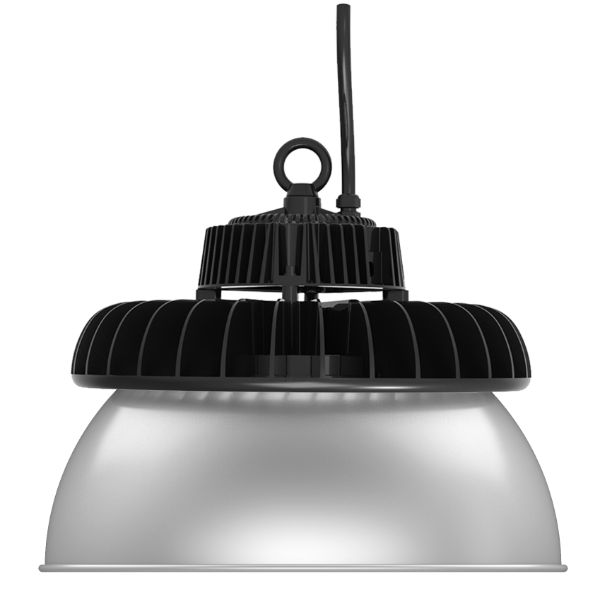
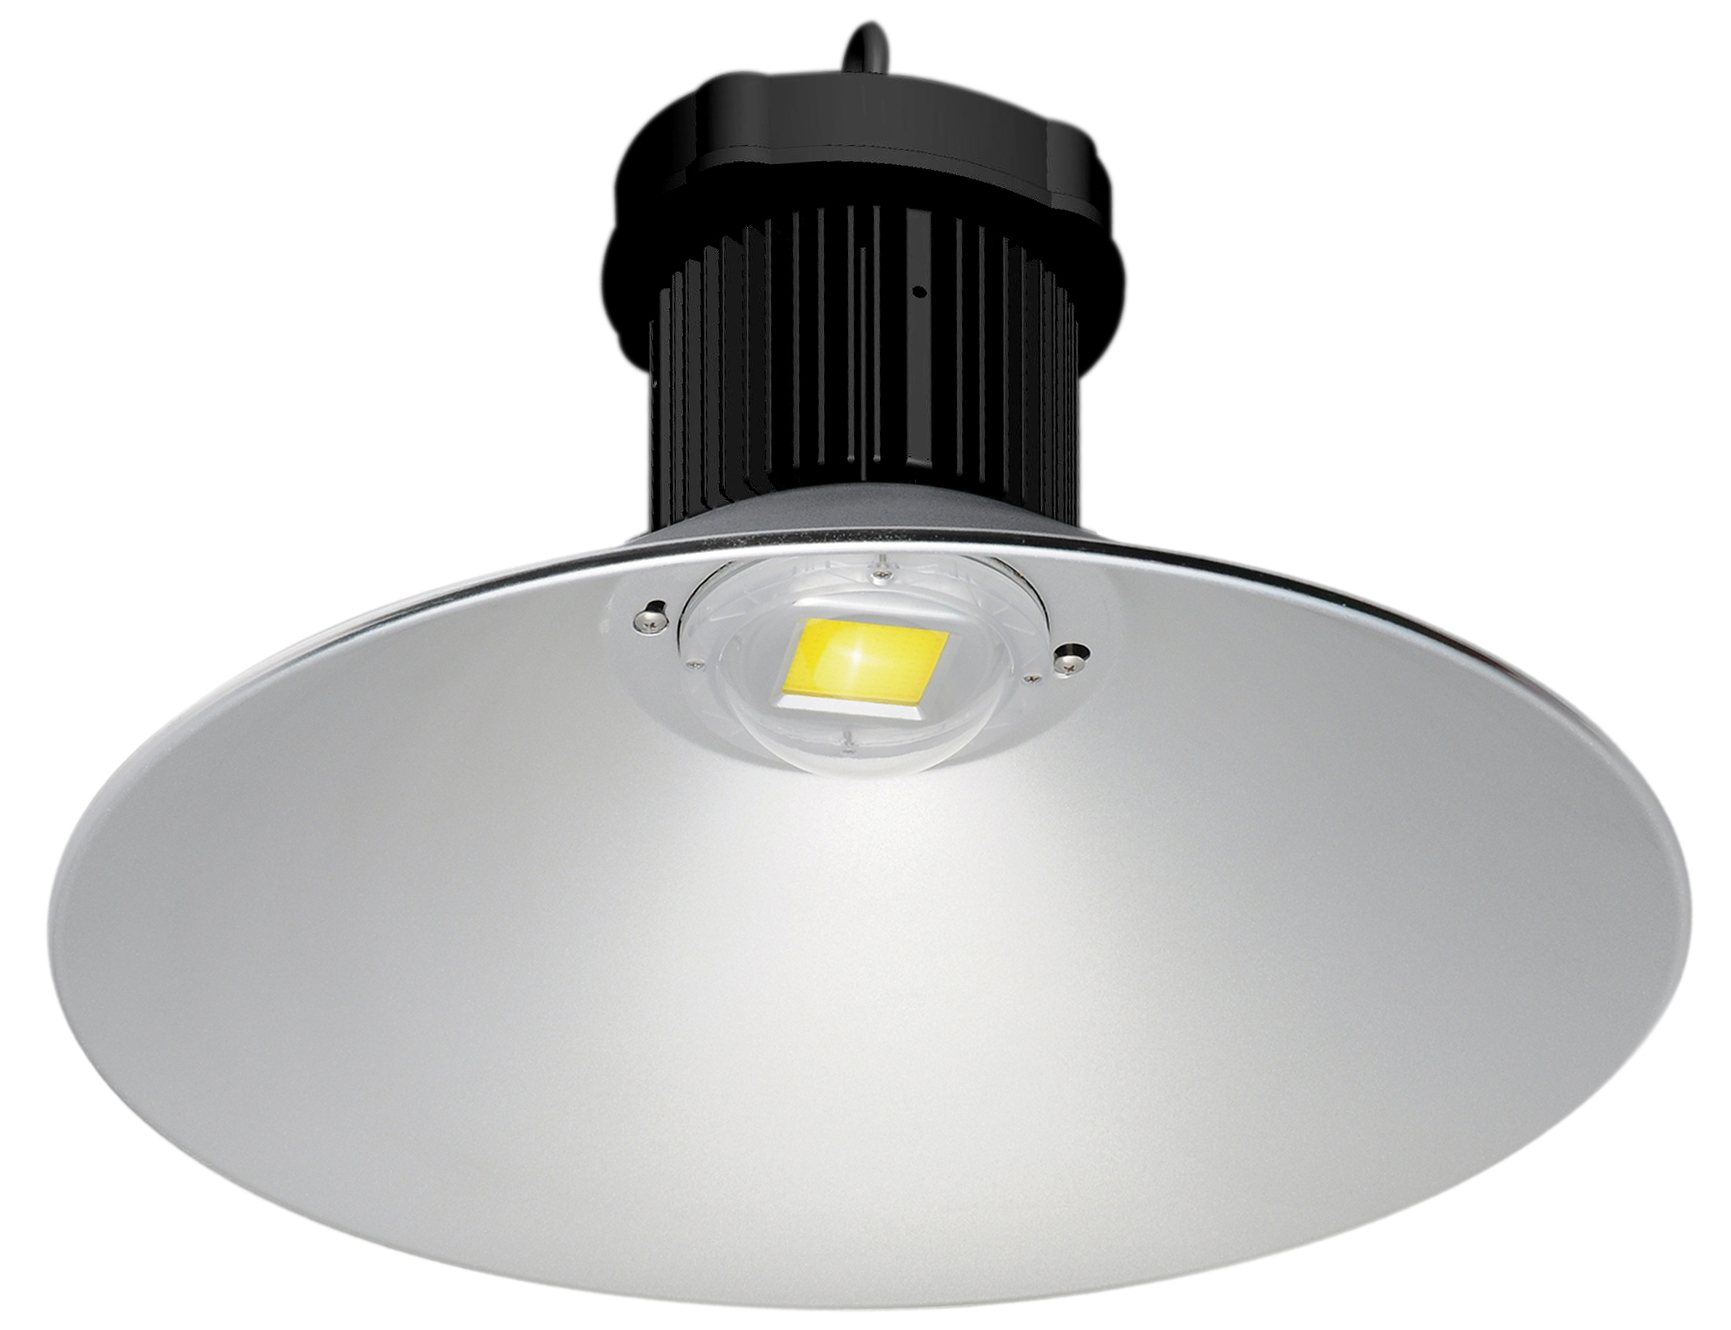
2. Mounting the Fixtures
- Determine Mounting Type: Based on the design, LED high bay lights can be mounted with hooks, chains, or brackets.
- Secure the Mounts: Hook or bracket to the ceiling joists or beams. In case of chain mounting, make sure the chains are cut at the desired length and properly attached.
- Hang the Light Fixture: Hang the light to the mount and make sure it is securely attached. If using brackets, bolt the fixture in place.
3. Wiring Connections
- Match Wires Appropriately: Connect the light’s wires to the building’s power supply, ensuring hot is black to black, neutral is white to white, and the ground is green to green.
- Use Wire Nuts and Tape: Ensure that wire nuts and electrical tape tighten the connections to avoid loose wires.
- Install Junction Boxes: If necessary, seal the connections in a junction box to protect against dust and moisture.
4. Adjust Lighting Angle
Position the lights to ensure they can give optimal coverage. If applicable, adjust beam angles.
Testing the Installation
- Restore the power and switch on the lights. Test each fixture to ensure everything is working properly.
- Double-check the brightness and evenness of light to make corrections where necessary.
Conclusion
Proper installation of LED high bay lights is crucial to gain the benefits of efficient and long-lasting illumination. Following the right steps and avoiding common mistakes can make the environment safer, brighter, and more cost-effective. Trust Prolux International LLC to support your lighting projects with top-tier products and expertise.